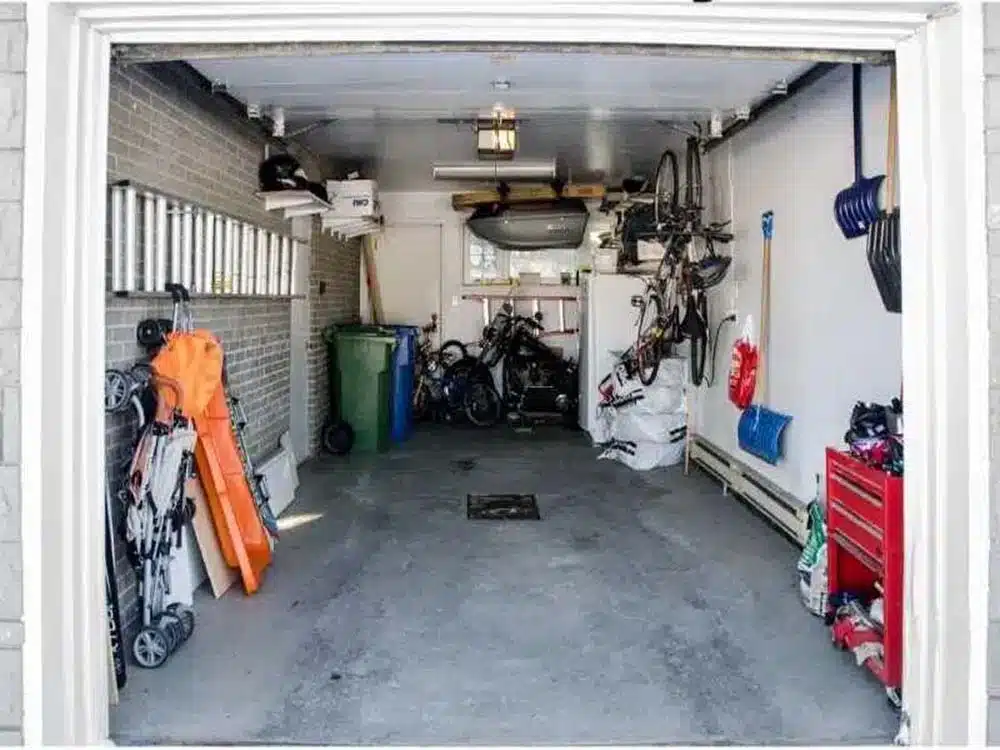
We keep our vehicles in the garage, so it would be much simpler if we parked there. However, this ultimate functional area serves as a dumping ground and the last resting place for the garage clutter, for many.
It becomes a place to store everything we don’t have a designated place for, and the mess can accumulate until occasionally there isn’t even room for the vehicle itself. Learn how to declutter your garage and begin turning it back into a fully functional place by following our step-by-step guide below.
Step-By-Step Guide On How To Declutter Your Garage
Use the following steps to get your garage decluttered:
Step #1: Choose A Pleasant Day
The first thing you should think about before getting your hands dirty is the weather!
Choose a day that isn’t too hot, but also pay attention to the weather to make sure it won’t rain so you can truly take things out and give yourself enough space to sort and look through stuff.
Step #2: Have A Realistic Time
This is crucial since you have to plan adequate time to do the task or project entirely. It usually takes longer than you expect to properly organize. If at all feasible, ask someone to lend you a helping hand to help carry heavier or larger objects so you don’t exhaust yourself too quickly and to keep you energized.
Step #3: Take A “Before” Photo
Taking a before photo is a terrific idea, even though it could seem a little silly. Even if your garage may seem disorganized right now, by documenting it, you’ll be able to track your development, maintain motivation, and recognize your accomplishments.
Be advised that your garage may probably appear messier before it gets cleaner. The process of decluttering your garage can be a bit of a blur, and halfway through you could find yourself overcome by all the clutter in your space.
See how much space it as evidence that you’re on the right track and keep your attention on the objective of having enough storage space and a completely organized garage.
Step #4: Remove Everything
Take everything outside and place it on the floor, driveway or, even better, a tarp laid out on the grass. Damage or the fact that something is simply too heavy to use regularly can be immediately discovered by touching and moving the item.
Organizing regular trash in the garage is going to be a messy process. If necessary, put on a mask and gloves, and prepare a big stash of black garbage bags.
Items that are damaged? Trash.
Items you won’t ever use again? Take it out of there!
Junk and old boxes? Remove it all.
This garage decluttering activity is the perfect time to move seasonal items and get rid of anything that doesn’t have a clear purpose.
Step #5: Concentrate On Particular Areas
Starting in a small particular area is recommended as it might be one of the most challenging aspects of the project. Choose a spot rather than staring down your entire garage trying to figure out what to do. It might be your toolbox, a shelf, cabinets or a corner cluttered garage. What it is doesn’t matter.
Giving oneself a small area to concentrate on can help you track your progress and use it as inspiration to continue. Move on to the next area and start over after you’ve cleared up every piece of junk in that one. You have to stay concentrated if you want to finish this in a single day.
Step #6: Sort Similar Items Together
You’ll be able to see what you’re working with by organizing similar items together. It will be much easier to figure out a way to keep a little collection of garden tools and sports equipment organized than a large pile of material.
Now that everything is out in the open, arrange it in groups according to similarity and remove it from your shelves, bins, drawers, cupboards, and closets. You may also use this to find duplicates in your files. When you can see what you own—which is often surprising—you’ll be able to make better judgments.
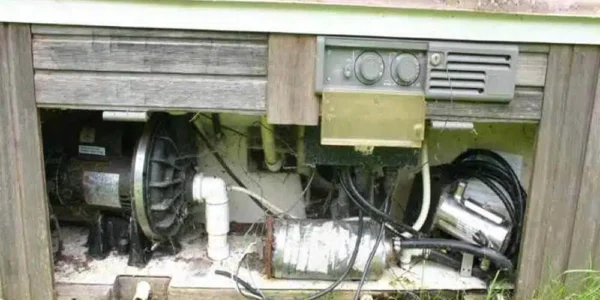
Step #7: Check The Garage Walls, Electrics, And Windows
Clean your garage thoroughly and look for any damage or potential safety risks.
Cut off any exposed screws and nails, fill in wall holes, off old paint, wipe up spills, sweep out cobwebs, and clean up any corners. Ensure that the electrical outputs are safe and in excellent operating condition.
You will find your car garage to be more helpful and easier to organize if it is modern and well-functioning.
Remember to keep an eye out for any mold, moisture, or mildew, and make sure the window seals are still intact to prevent more water damage.
Step #8: Make A Layout Plan
Plan and arrange the locations of items.
For example hanging tools, bikes should be placed close to the door so that they are easily accessible. Consider what should be nearby to each other and easily available, or what goods are used infrequently (winter equipment like skis and sleds, camping gear, gardening tools, for example) and may be stored away. Electrical items should be placed near plugs, hammers, and screws should be placed near your work area.
Step #9: Ensure That Everything Is Visible
As if you were working in a store, refill shelves and wall hooks by placing the tallest things in the rear, turning every item so the labels are visible, and using dividers to make vertical space and maintain separation (pieces of cardboard work astonishingly well). If the budget is tight, use see-through plastic for crafts, and DIY projects, and wire mesh containers for children’s toys and recreational equipment.
Step #10: Keep Delicate Items Safe
Check the labels of every chemical and liquid you use. A lot of them require indoor storage solutions because they are temperature-sensitive. Think twice before storing educational souvenirs, family heirlooms, and some holiday decorations somewhere humid as fabric, paper, and cardboard are readily ruined by moisture.
Paint is most likely not a smart idea to store in your garage. Between 60 and 80 degrees Fahrenheit is the best range for storage. Low humidity expedites drying, but high humidity tends to corrode metal paint cans more quickly.
Step #11: Take An “After” Photo
Once you’re done, take an “after” picture.
You’ll have a starting point to work from if you take a photo of your area when it’s tidy, organized, and completely decluttered garage. Utilize that picture to serve as an anchor for your area and prevent or create further clutter.
It’s a wonderful method to recognize and honor your accomplishments. You can see how much better off you are and how much your hard work paid off by comparing your house with before and after photos!